
How to veneer a raised panel door with a vacuum press
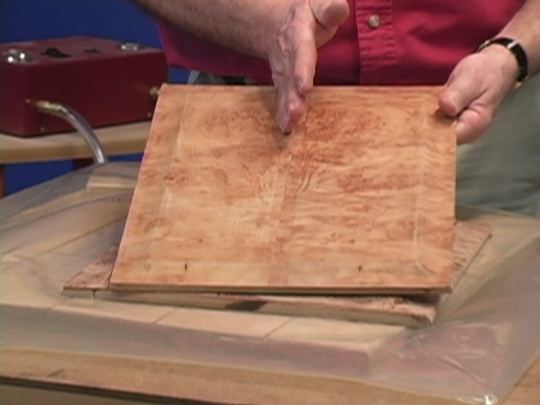
This guide will walk you through the process of veneering a raised panel door using a vacuum press. Key elements for success include the panel shape and veneer flexibility.
Panel Shape
Ensure the panel has a gradual curve without sharp angles near the top. Sharp angles can cause the veneer to snap or leave gaps.
Veneer Flexibility
Soften the veneer to prevent cracking during vacuum pressing. We recommend using a VKS veneer softener.
Steps for Softening Veneer
Spray the Veneer
Apply the softener solution to both sides of the veneer.
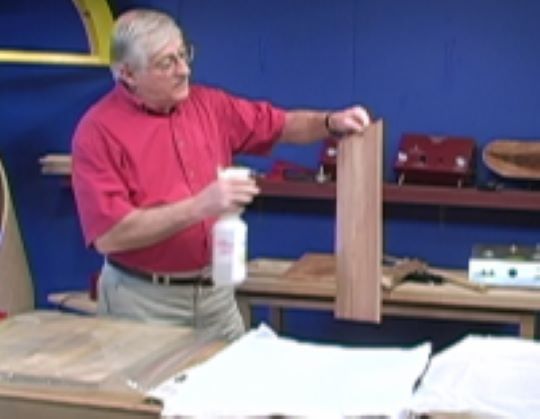
Prepare for Pressing:
- Place the wet veneer between sheets of plain paper.
- Put a caul on top.
- Place the assembly in the vacuum press.
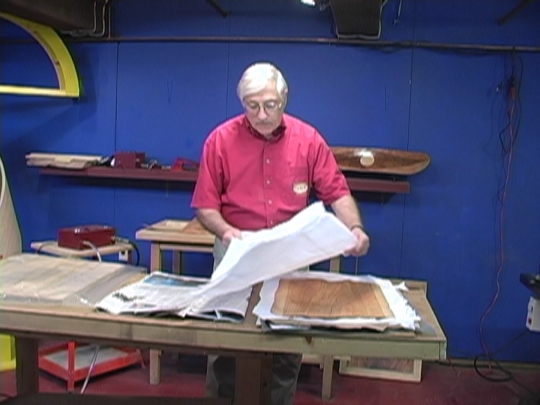
Drying
Change the paper several times to speed up drying.
Checking Moisture Content
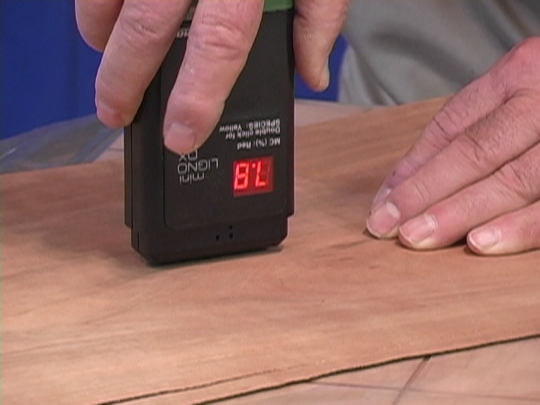
Use a moisture meter to check the moisture content (MC) of the veneer before pressing. High MC can cause the veneer to shrink and crack. Measure both the center and edges.
Gluing and Pressing the Veneer
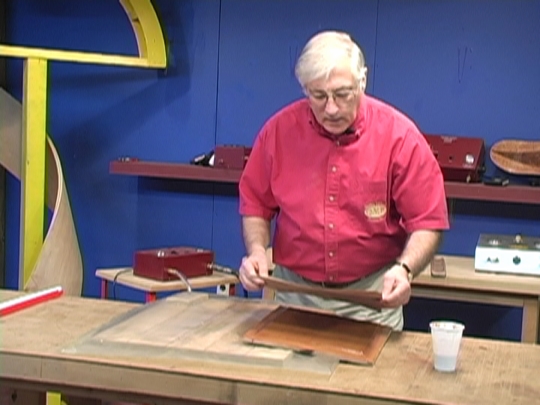
Apply Glue:
After shaping the panel and easing the top edge, apply glue to the substrate. We use VAK Bond 2000 , a plastic resin glue ideal for veneering.
Considerations:
- Plastic resin glue, like VAK Bond 2000, works well for most plywood, MDF, etc.
- For birdseye or holey veneers, let the glue set for a few minutes to minimize glue push-through.
- If using light-colored veneers, add VAK-tint to the glue to prevent dark spots.
Pressing the Veneer
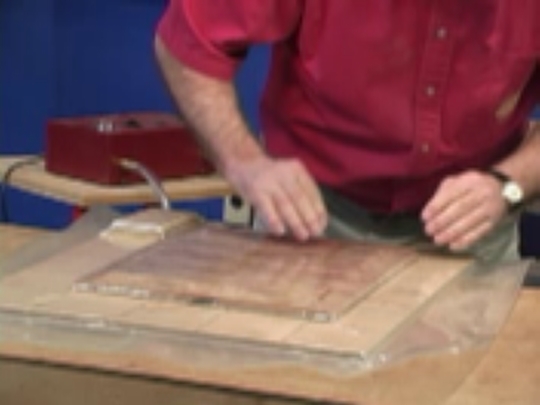
- Place the taped veneer in the vacuum bag.
- As vacuum is applied, smooth the bag over the top of the panel.
- Smooth any wrinkles in the bag before it is fully evacuated.
- If wrinkles appear in the veneer corners, push them out with your thumb.
Drying the glue
Allow the glue to dry per the manufacturer's instructions.
Speed up drying by applying heat, such as using an electric blanket on top of the vacuum bag.
Once the glue is fully cured and the veneer is properly set, you'll have a beautifully veneered raised panel door.

This is an older video on veneering a raised panel door. Check out the video here.


