Using a Vacuum Press for Bent Laminations:
The free form process
Curved woodwork has always captured the imagination of furniture makers, architects, and hobbyists alike. From sweeping chair backs to elegant table aprons, bent
laminations make it possible to achieve flowing designs that solid wood simply cannot provide. Traditionally, these curves require rigid molds, dozens of
clamps, or even steam-bending setups.
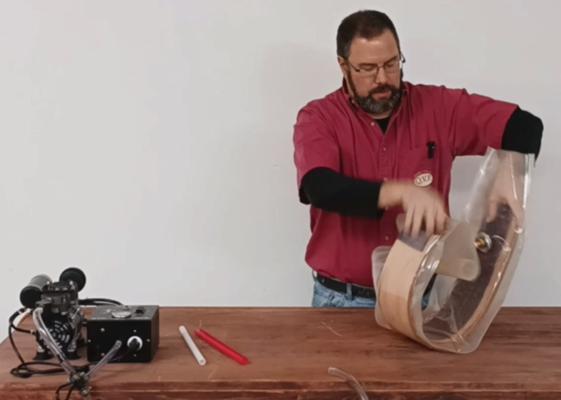
But there's another way: the vacuum press. In a recent video demonstration titled "Using a vacuum press to glue up bent
laminations, using the free form process," the technique of free-form lamination with vacuum pressure is showcased in a clear and practical way. This blog
post breaks down the method, explains why it's so effective, and highlights how you might incorporate it into your own projects.
What Is Free Form Bent Lamination?
Bent lamination is the process of gluing together multiple thin layers of wood (called laminations) into a curved form. Because each lamination is thin, it bends
easily without breaking. When glued and pressed together, the resulting piece is both strong and permanently curved.
Traditionally, this process involves a rigid mold or form - the laminations are stacked, glued, and then clamped to the mold until the adhesive cures. While
effective, molds require setup time, precision fabrication, and can take up shop space.
The Free-Form Advantage
The free-form process eliminates the need for rigid molds. Instead, the laminations are glued, stacked, and placed inside a vacuum bag. The atmospheric pressure
exerted by the vacuum system applies uniform force over the entire piece, pulling the laminations together into a natural curve.
This method provides two major advantages:
1. Flexibility - You can create organic, flowing shapes without being tied to the dimensions of a pre-built mold.
2. Efficiency - No need to spend hours building forms. Simply prepare your laminations and let the vacuum bag do the work.
For one-off projects or prototypes, free-form lamination saves time and resources while offering creative freedom.
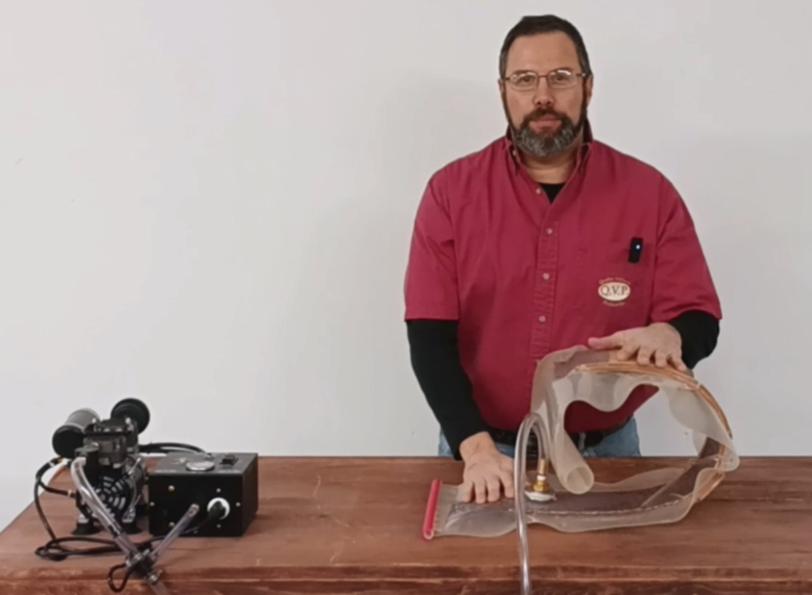
How the Vacuum Press Works
A vacuum press consists of a sealed bag and a vacuum pump. When air is removed from the bag, atmospheric pressure outside pushes evenly
across all surfaces inside. In woodworking, this means 360° clamping pressure across the laminations.
Key Components:
Vacuum bag: Flexible, airtight enclosure
Vacuum pump: Creates negative pressure inside the bag
Adhesive: Flexible glue that bonds laminations permanently
Breather mesh: Mesh that help distribute pressure and protect the bag
Because the vacuum creates even pressure, you avoid the clamp marks, uneven squeeze-out, or pressure gaps common with traditional methods.
Step-by-Step Process for Free-Form Bent Laminations
Here's a breakdown of the method demonstrated in the video:
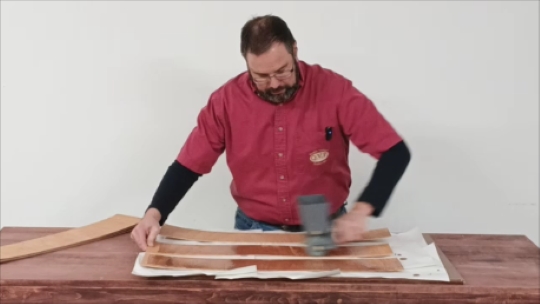
1. Apply Adhesive: Spread glue evenly across each lamination's surface. VAK-Bond 2000
is the recomended glue in the industry for veneering and laminating.
2. Stack and Align: Lay up the laminations in order, taking care to align edges.
3. Apply the Mesh: VAK-Net
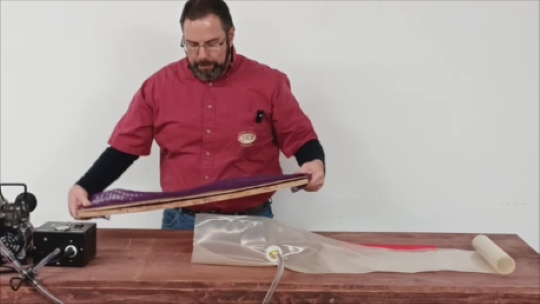
This mesh is crucial because it allows air to escape from the bag. Without it, the bag would seal around the vacuum connector, preventing it from being fully
evacuated. The mesh also protects the bag from sharp corners. If your laminates have sharp edges, tape them or cover them with cardboard to prevent damage.
4. Insert the Assembly into the Bag:
Slide the entire assembly into the vacuum bag, ensuring the vacuum connector is in contact with the VAK-Net
bleeder material.
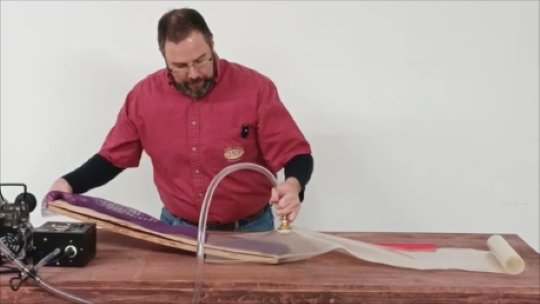
5. Pull Vacuum: Activate the pump. The vacuum draws out air and applies even pressure across the entire lamination. Adjust
the placement of the workpiece if necessary as the vacuum forms.
6. Let the glue cure: Leave the laminations under vacuum until the adhesive fully cures. Once cured, release the vacuum and
remove the piece. You'll have a permanently bonded curve without the need for a rigid mold.
7. Remove the laminte from the bag: Take the piece out of the bag. Depending on the complexity of the piece witll determine how
easy it will be to take the piece out of the bag. Most times it will be almost fully turing your bag inside out to remove the piece. Which is great because
the will make it easy to wipe off any access glue squeeze out from the bag.
Benefits of This Method
Uniform Pressure: Eliminates the risk of gaps and weak spots.
Reduced Setup Time: No molds required for one-off or experimental curves.
Design Freedom: Explore flowing or asymmetrical forms without the restriction of rigid jigs.
Compact Setup: A vacuum press requires far less space than traditional clamping setups with dozens of bar clamps.
Considerations and Limitations
While the free-form method is powerful, it isn't perfect:
Predictability: Without a rigid mold, exact shapes are harder to control. Expect slight variations in radius or angle.
Repeatability: For production runs, a mold may still be necessary to ensure consistency.
For these reasons, free-form lamination is ideal for custom, artistic, or experimental pieces, less so for mass production.
Applications in Woodworking
The possibilities with bent laminations are nearly endless. Some common uses include:
Furniture: Chair backs, armrests, table aprons, sculptural bases
Architectural Millwork: Curved staircases, Curved trim, arches, railings
Artistic Pieces: Free-form sculptures, lighting fixtures, one-of-a-kind designs
Vacuum pressing allows makers to explore these applications with fewer barriers to entry.
Final Thoughts
The video "Using a vacuum press to glue up bent laminations, using the free form process" demonstrates how straightforward
and effective this method can be. For woodworkers seeking to expand their design vocabulary, the vacuum press opens doors to creativity while
reducing the hassle of traditional molds.
Whether you're a professional furniture maker or an ambitious hobbyist, trying the free-form process can be a rewarding experiment - one that combines
efficiency, innovation, and artistry in a single technique.
74 Apsley Street Hudson, MA 01749
Phone: (978)562-4680
Fax: (978)562-4681