
Crafting a Decorative Christmas Veneer Piece
with a Laser Engraver and Vacuum Press
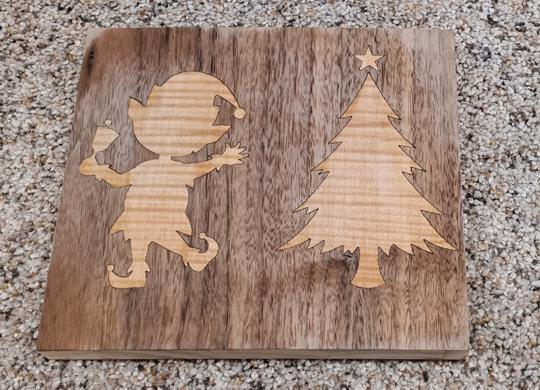
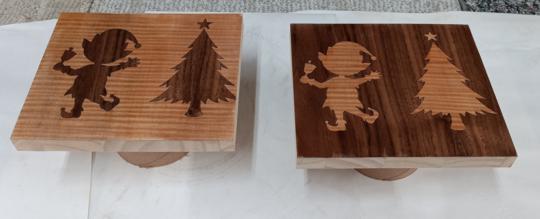
The holiday season is the perfect time to create unique, personalized decorations, and what better way to do so than by combining modern technology with traditional craftsmanship? In this tutorial, we’ll walk you through the process of using a laser engraver to cut intricate veneer designs, then bonding them to a board with the help of a vacuum press. The result? A stunning decorative Christmas piece to cherish for years to come.
Step 1: Cutting Veneer with a Laser Engraver
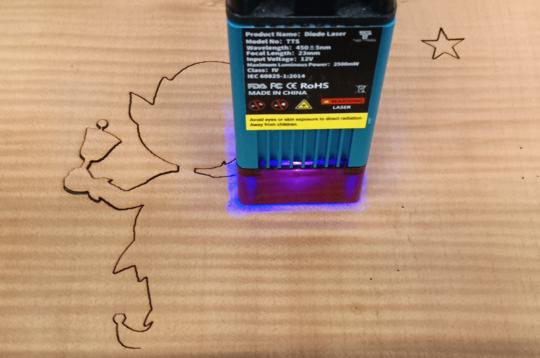
Laser engraving offers unparalleled precision, making it ideal for cutting delicate and intricate patterns into veneer. To start, select a veneer species that complements your design and board. Popular choices for Christmas
decorations include walnut for a warm, rich look or maple for a lighter, festive appearance.
Load your veneer into the laser engraver and set the design parameters, ensuring proper power and speed settings to achieve clean cuts without burning the edges. Once the laser finishes, carefully remove the veneer pieces
and check for any loose or incomplete cuts.
Step 2: Arranging the Veneer Pieces
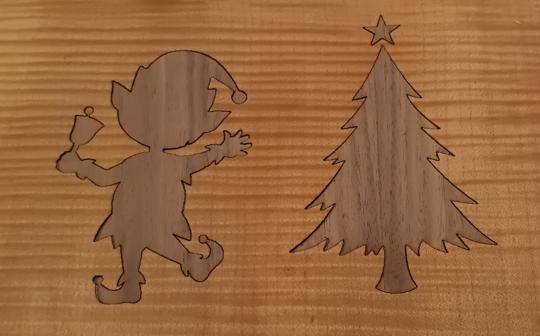
After cutting, lay out the individual veneer pieces on a flat surface to ensure everything fits together like a puzzle. This step is crucial for intricate designs, as it allows you to confirm alignment and make adjustments if needed.
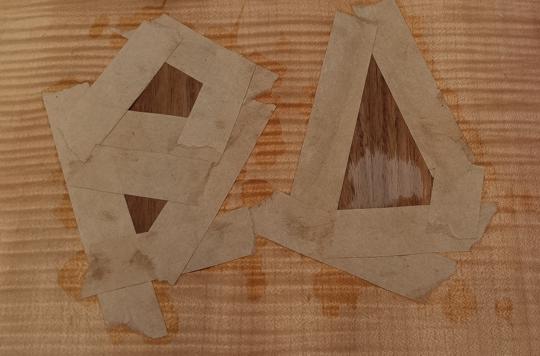
Use paper veneer tape to secure the pieces together. The tape helps maintain the layout and prevents the pieces from shifting during the bonding process.
Step 3: Bonding with a Vacuum Press
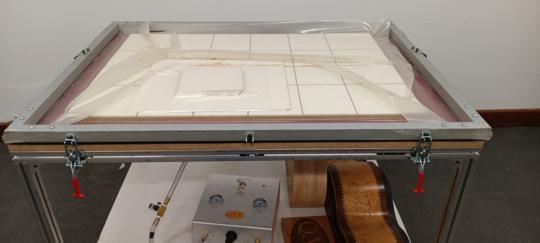
The vacuum press is an incredibly versatile tool, perfect for small-scale projects like this decorative piece as well as larger woodworking applications. For this project, we’ll be using a 5 CFM all-pneumatic automatic vacuum press& with a flip-top vacuum frame.
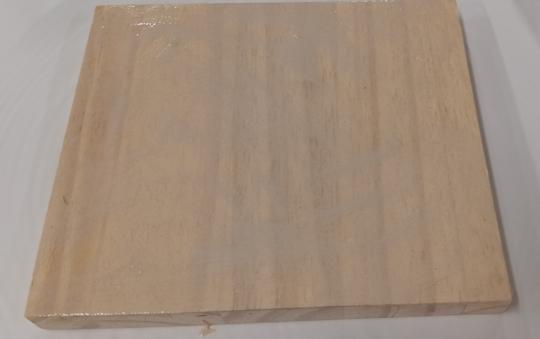
1. Prepare the Substrate: Apply a thin, even layer of adhesive to your board. Choose a wood glue or veneer adhesive designed for pressing to ensure a strong bond.
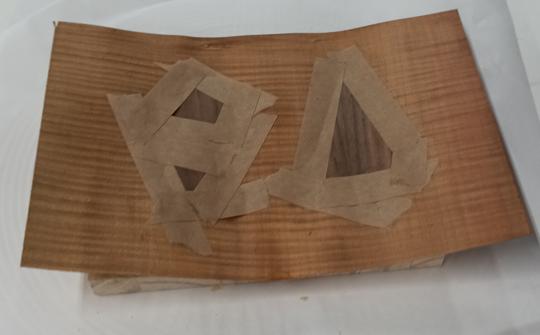
2. Position the Veneer: Carefully transfer your taped veneer layout onto the adhesive-coated board. Press lightly to ensure contact.
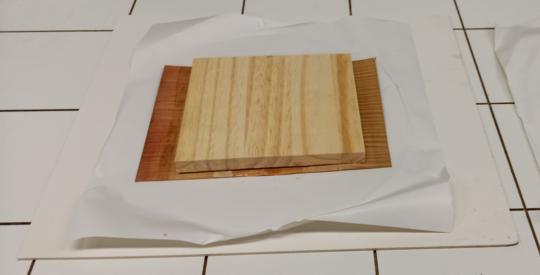
3. Set Up the Vacuum Press: Open the flip-top vacuum frame and place your board and veneer inside. The flip-top design makes it easy to handle smaller pieces while ensuring even pressure.
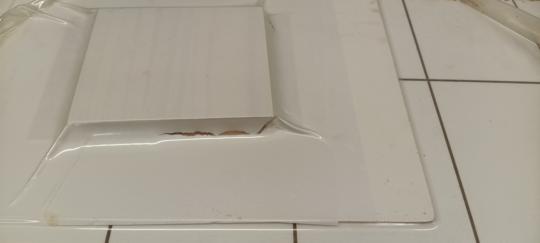
4. Activate the Press: Seal the frame and activate the vacuum press. The 5 CFM pump will quickly create a vacuum, evenly pressing the veneer onto the board. Allow it to cure for the recommended time specified by your adhesive.
Step 4: Finishing Touches
Once the adhesive has cured, remove the piece from the veneer vacuum press and scrape off the tape. Sand any rough edges and apply a finish of your choice, such as a clear coat or a light stain, to enhance the veneer’s natural beauty.
Versatility of the Vacuum Press
While this project focused on a small decorative piece, the 5 CFM vacuum press is equally capable of handling larger veneer panels for furniture or other woodworking projects. Its automatic operation and robust design make it a must-have for both hobbyists and professional woodworkers.
Conclusion:
By combining the precision of a laser engraver with the even pressure of a vacuum press, you can create intricate, high-quality veneer decorations with ease. Whether you’re making a festive centerpiece or tackling larger veneer applications, this method ensures stunning results every time.
Happy crafting, and may your holidays be as beautiful as the pieces you create!


