Vacuum laminating with the form outside the bag
Vacuum laminating with the form outside of the bag is a great way to save time and money when forming materials into shapes, whether you're working with simple curves or complex structures like spiral staircases. Here's why this method is beneficial and how you can use it to make a curved arch or jamb.
Benefits of vacuum laminating with the form outside the bag
Stronger Forms Are Not Needed: The form you use doesn't have to be as strong as it would need to be with other methods.
Reuse Forms Without Waiting: You can use the same form with several bags without having to wait for glue to dry between uses.
Fewer Flat Spots: This technique helps you achieve smoother, more consistent curves with fewer flat spots.
Steps to Create a Curved Arch or Jamb
Glue the Laminates:
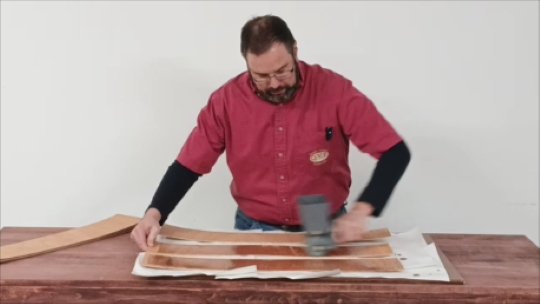
Start by applying glue to your wood laminates.
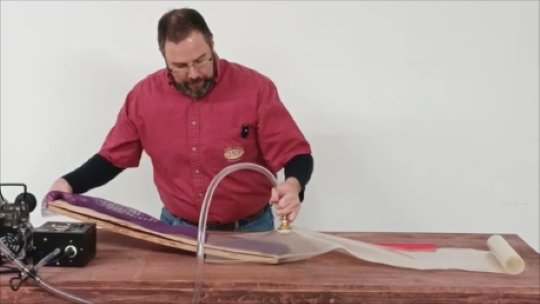
Apply the Mesh: VAK-Net
This mesh is crucial because it allows air to escape from the bag. Without it, the bag would seal around the vacuum connector, preventing it from being fully evacuated. The mesh also protects the bag from sharp corners. If your laminates have sharp edges, tape them or cover them with cardboard to prevent damage.
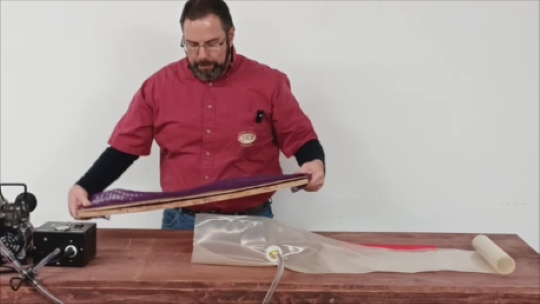
Insert the Assembly into the Bag
Slide the entire assembly into the vacuum bag, ensuring the vacuum connector is in contact with the VAK-Net bleeder material.
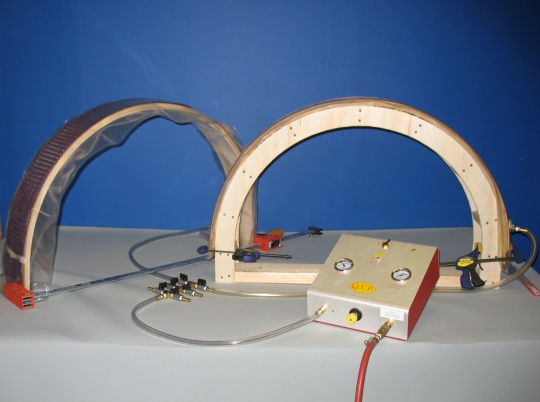
Bend the Bag Over the Form
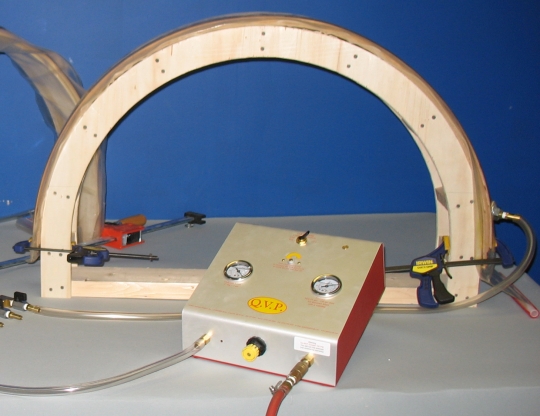
With the assembly in the bag, bend the bag over your form and use clamps to hold it in place. Remember, you're the one doing the bending; the bag's job is to squeeze the laminates tightly.
Evacuate the Bag
Once clamped, evacuate the air from the bag. The bag will now apply even and uniform pressure of 1800 lbs per square foot to the laminates, ensuring a strong bond.
Handling Multiple Bags
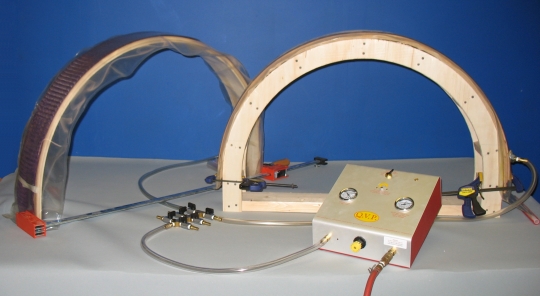
To handle multiple bags you will need a bag manifold . You can remove the first bag from the form once the shape is held by the vacuum. To keep the shape, you can place a bar clamp across the bottom if the laminates are stiff and tend to spring back. Repeat the process with additional bags as needed.
Additional Tips:
Splicing Joints: Use a piece of fiberglass-reinforced tape to hold two pieces together if you need to create a spliced joint.
Tight Radius Forms: For small or tight-radius curves, push the bag into a female form. The top of the bag will be smooth and
wrinkle-free, which is important for maintaining the correct dimensions on smaller arches.
Choosing the Right Glue: Use VAK Bond 2000 plastic resin glue for a strong, rigid bond with minimal spring-back.
This method of vacuum laminating outside the bag is an efficient way to create strong, consistent curved shapes in your woodworking projects, reducing the time and effort needed compared to other techniques.
Bent lamination with the form outside the bag video
74 Apsley Street Hudson, MA 01749
Phone: (978)562-4680
Fax: (978)562-4681