
How to Build a Durable Vacuum Press Form
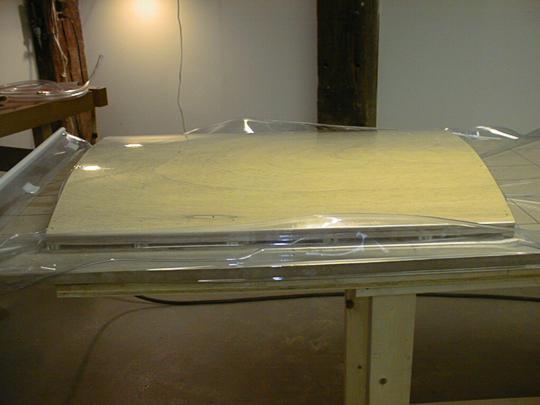
Construct a Strong Inner Form
The form inside the vacuum bag must be robust enough to endure 1,800 lbs./sq.ft. of pressure. Use materials like 3/4” thick plywood or MDF to ensure durability. When building the form, make it 2 to 3 inches wider and longer than the final workpiece to provide sufficient support and avoid edge exposure during pressing.
Create the First Rib and Use it as a Template
Fabricate the initial rib and use it as a vacuum template to duplicate the remaining ribs. This approach improves speed, consistency, and accuracy across all ribs, ensuring each piece fits perfectly within the form.
Solid Ribs Without Cutouts for Strength
Avoid cutting out material from the ribs to reduce weight, as this can weaken the structure. When using 3/8” bending plywood as the top layer, space the ribs 3 inches on center (O.C.). For a 3/4” thick top layer, space them 6 inches O.C. to provide adequate support under pressure.
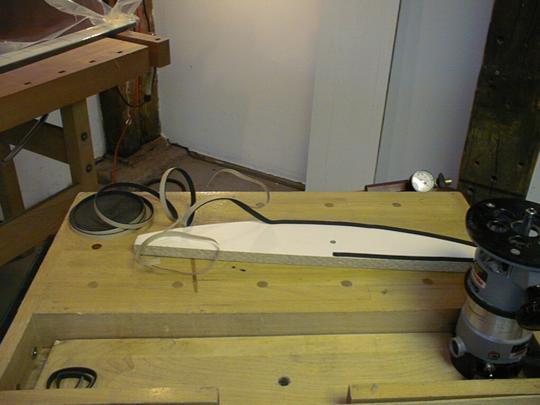
Prepare the Vacuum Template
Drill a vacuum hole in the rib and outline the edges with VAK Tape to ensure a proper seal. If your table has a pre-drilled vacuum port, connect the vacuum line to the underside of the
table. Place the rib template over the vacuum hole and the workpiece on top of the jig.
Activate the vacuum system, which will generate up to 1,800 lbs./sq.ft. of holding force, securing the workpiece firmly to the template and the template to the table.
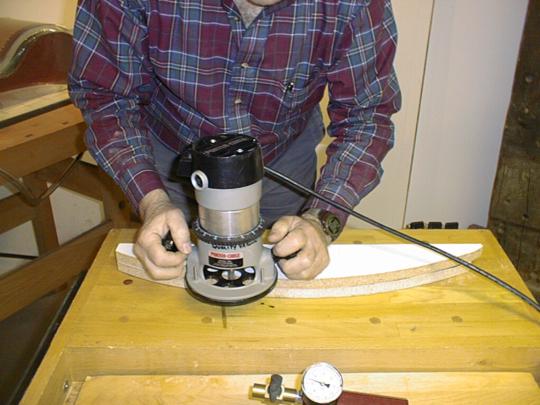
Template Routing with Vacuum Assistance
Use the All-in-One Vacuum Pressing and Clamping System to rout the ribs. This system allows you to template-rout while maintaining vacuum pressure inside the bag. The vacuum holds the workpiece to the template
and ensures the template remains secured to the work table throughout the process.
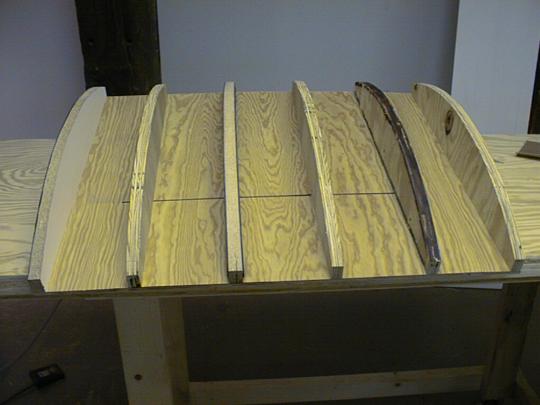
Constructing the Base
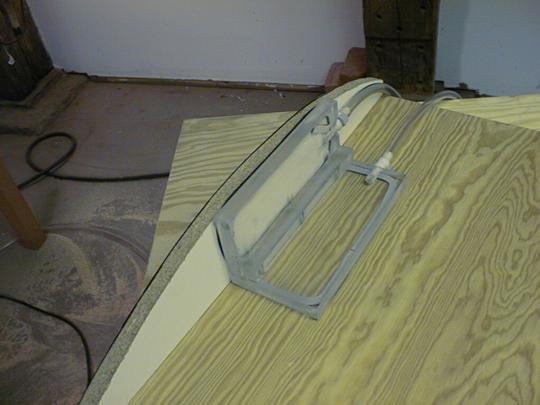
The base of the form can be made from 1/4” plywood or thicker. For better air evacuation, cut a slot in the base. Use a right-angle vacuum jig to hold the ribs in place securely while fastening them with screws.
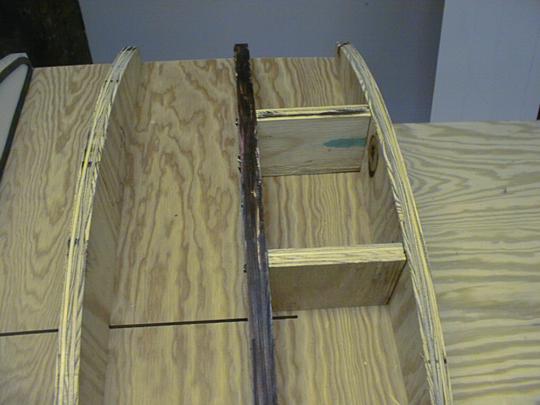
Reinforce the Ends to Prevent Collapse
Given the press will apply 1,800 lbs./sq.ft. of pressure, it is essential to brace the ends of the form to prevent them from collapsing under load
Attach the Top Pieces to the Form
Carefully nail the top piece to the rib structure. Ensure a secure fit without introducing unnecessary stress points
Round and Smooth the Edges
Before placing the form inside the vacuum bag, sand or round off any sharp edges to avoid puncturing the bag. Once the edges are smoothed, test the form under full pressure by placing it in the vacuum bag.
If you hear any creaking sounds, this indicates structural weakness and the need for reinforcement before proceeding with actual workpieces.
If you are having issues with your form not being strong enough there are some ways to help with this without having to add more ribs. You can fill the voids with bubble pack. You can also fill the voids
with spray foam.
Conclusion
Following these steps ensures your vacuum press form is durable, well-constructed, and capable of withstanding high pressure. Testing the form before use will help prevent failures and ensure smooth operations for your vacuum pressing projects. Proper construction techniques will prolong the life of your form and enhance the safety of your vacuum pressing system.


